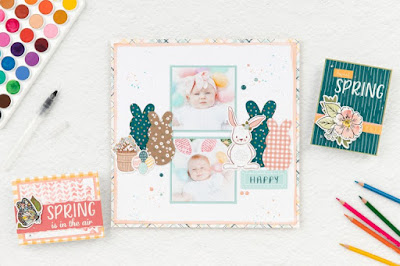
Great artwork is built on the inclusion of many small elements, all coming together for a stunning end result!!
Watercolor is an incredibly easy and effective way to boost the overall aesthetic of your artwork, resulting in a truly professional appearance while still keeping it uniquely “you.”
When most people hear “watercolor,” they may picture intricate images painted free-hand by a skilled and experienced artist.
Today, however, I'm going to show you a variety of different ways you can easily apply watercolor techniques to your artwork, some of which may even surprise you!!
Watercolor is a skill anyone can practice and use to up the ante in their own artwork, and the techniques I'm sharing with you are great for beginners and experts alike!!
All of the artwork I’ll be showing you today was made using papers, stickers, and embellishments from our beautiful
Daisy Meadows collection.
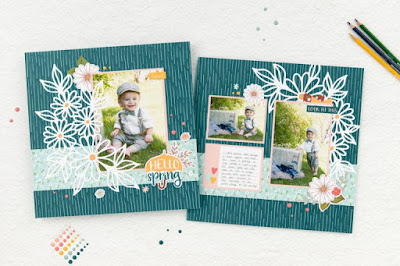
This bright paper suite lends itself well to watercolor and is a great starting point for anyone who may be new to this beautiful medium!!
Artistic splattering is a great way to break up a plain background, and it’s incredibly quick and easy to add to any artistic project!!
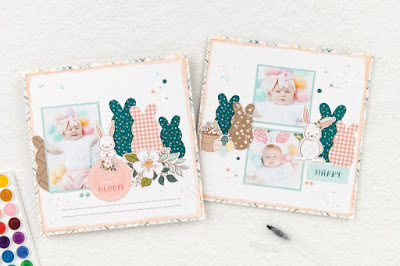
To create these fun splatters, take a wet waterbrush, pick up some paint from your watercolor paint palette, and gently tap the brush on top of your index finger, holding it over the general area where you’d like the splatters to land.
(Tip: Use a piece of scratch paper to cover any parts of the page you don’t want to be splattered.)
You can also see this technique reflected in this Easter-themed layout from the Daisy Meadows Scrapbooking Workshop Kit.
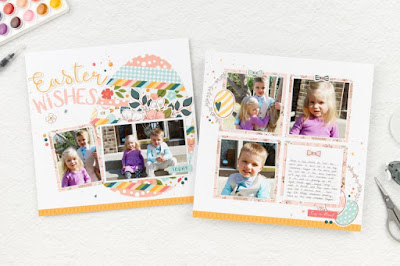
Here, we’ve combined the splattering technique with some light stamping and complemented it all with a few small stickers and Daisy Meadows Dots.
When these elements are combined, you go from a plain white background to a multi-textured one!!
Another way to incorporate watercolor into your artwork is to create a painted border around the perimeter of your scrapbook pages.

To create a painted border like this one, lightly make a few long strokes around the edges of the page, taking care to not let your hand wander toward the center.
A simple watercolor element like this is a wonderful way to brighten up a modest background!!
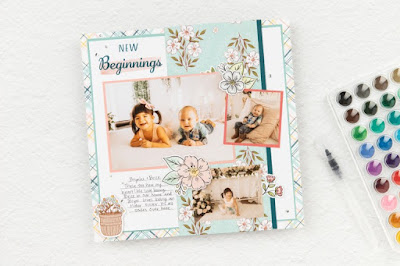
The next technique on my list shows you how to use watercolor paints to create eye-catching elements and accents in the foreground of your projects.
In the page pictured below, we used watercolor paints to add soft color not only to the floral accents by the photos, but also for the bright swash in the title.
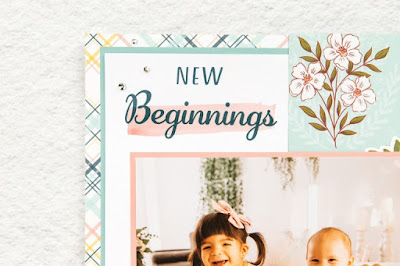
This vibrant addition draws the eye to the title, allowing for a natural, flowing progression as viewers take in the rest of the page.
(Tip: To achieve a flawless swash effect, add the watercolor paint and let it dry completely before stamping. This way, you can adjust the color to get it just right, and you’ll avoid smearing the ink on the stamped image.)
For the delicate floral accents, you can easily achieve a gentle fade by concentrating the paintbrush along the outer edges of the stamped image, creating an outline.
Then, clean the brush, wet it, and softly brush the color toward the center of the image.
If watercolor paints aren’t your preferred watercolor medium, this effect can also be achieved using watercolor pencils.

Another fun way to up your watercolor game is to play around with various color saturations and pigment shades.
For a more pigmented effect on your initial coat, consider using a dry brush to pick up your wet paint.
Wet bristles will pick up less paint, resulting in a lighter pigment, so starting with a wet paint well and a dry brush will allow you to achieve a darker color right from the get-go!!
You can also adjust the color saturation as needed, but this process takes a bit of patience.
To get the best results, wait for the first layer of paint to dry fully before going in for a second coat.
For a more abstract approach to watercolor painting, consider using a smooshing technique!!
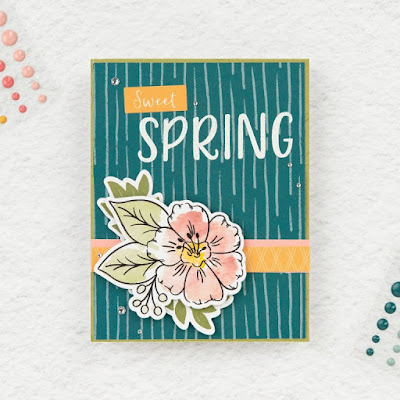
Like you’d do with a swash, you’ll want to apply your watercolor pigments to the paper before stamping.
To add a smushed watercolor element, apply your watercolor paint to the page or accent in a more abstract form.
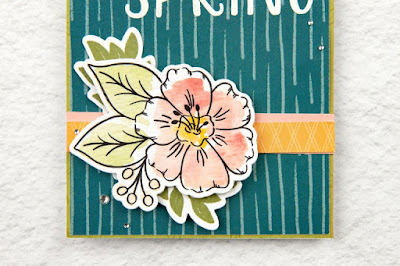
Once you’ve applied your color, you’ll take a plastic bag and smoosh it on top of the paper where the paint has been applied, mixing the colors together.
This results in a beautifully blended texture, which will be ready for you to stamp on top of once it’s fully dry.
(Tip: You can save the acetate wrapping from a new stamp pad, or any other new product, and use that for your smooshing!)
One last technique we’ll share with you today is stencil painting.
This technique is one of the easiest things you can do to add watercolor to your scrapbooking pages or cards.
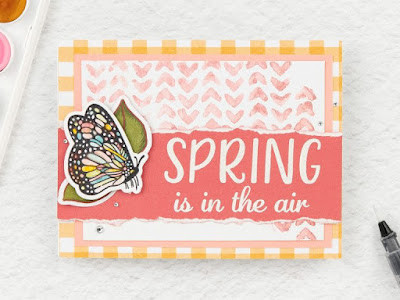
This technique is also a fantastic way to express your own unique creativity, as you can cut your own stencil patterns for this watercolor element!!
To create your own stencil, cut a design into cardstock using your favorite cutting machine.
If you’d like to reuse your stencil, cut your design on Stencil Sheets, so you can design and create your own stencils and use them for multiple projects! (For pre-designed stencils, check these out!)
When you use a stencil to add watercolor to your artwork, use strips of washi tape to hold it in place while you paint over it.
This will ensure a more uniform appearance with fewer unwanted smears.
Once your stencil is secured in place with washi tape, use your waterbrush to gently wash over the stencil.
This technique may result in some light bleeding, rougher edges, or blotching, which gives it a beautiful, perfectly imperfect look!!
The items used to create this artwork are eligible to earn your 15% VIP Bank Credit!!
They are also eligible for purchase using VIP Bank Credit however.
The amount paid for the items count towards earning the
Stamp of the Month for FREE!!
This technique may result in some light bleeding, rougher edges, or blotching, which gives it a beautiful, perfectly imperfect look!!
VIP Customers Please Note ...
The items used to create this artwork are eligible to earn your 15% VIP Bank Credit!!
They are also eligible for purchase using VIP Bank Credit however.
The amount paid for the items count towards earning the
Stamp of the Month for FREE!!


No comments:
Post a Comment